


8/7/2015
One thing that most of us would like to avoid I’m sure, is any major work on a boats head. Well, that was me of course. Despite that, our head had become a fight of “wills” between dealing with the smell that it was causing, forcing us to walk to the land based head at inconvenient times, or biting the bullet and overcoming my natural distaste at dealing with the issue and just working on it once and for all.
Our issues with our forward head and holding tank were the result of many longstanding factors. The boat being fairly “old” relatively meant that the system was designed in a way that worked “then” and not so much “now”. She was set up with a 40 gallon holding tank to hold effluent from the forward head but no thru deck fitting to pump out. The procedure was to store the waste while in port and then to use a manual whale gusher hand pump to discharge the waste once off shore. This doesn’t work so well for prolonged periods tied to a dock that sits in a huge bay (San Francisco area), miles and miles from open ocean. Also a factor was all original 40 year old plumbing meaning old hoses that allowed smells to “seep through” the tubing walls. The final factor was that the head pumped only salt water and we have learned just how smelly the bay water can be when combined with human waste.
Our solution was to replace all the old tubing and plumb for flushing from our fresh water supply (GA holds up to 300 gallons so that is a minor use of our stores). In order to comply with marina requirements here in the SF bay, I had already added a through deck fitting, a new “Y” valve, and the associated plumbing for “pump out” a few months ago.
Of course removing all of the old tubing was a real shitty job, so to speak, and we scheduled the project for the same day as our pump out service came around for obvious reasons. The project itself was pretty straight forward. Remove all the old hose, replace with new. Run a 15′ length of new line from a “T” fitting tied into our fresh water tanks to the head incoming fitting, etc. Clean out the bilge for anything that spilled in the process (surprisingly little actually) and now we not only have a clean smelling head, but we also have a much cleaner bilge. Bonus!
The hardest part of the whole process, as with so many other “boat things” was forcing our selves to get started. A statement about life perhaps? Now that it’s done, as with so many other things in life, it’s another little sense of accomplishment. I guess sometimes you just gotta “put up with the crap” to get where you want to go. “Pun Intended” 🙂
7/1/2015
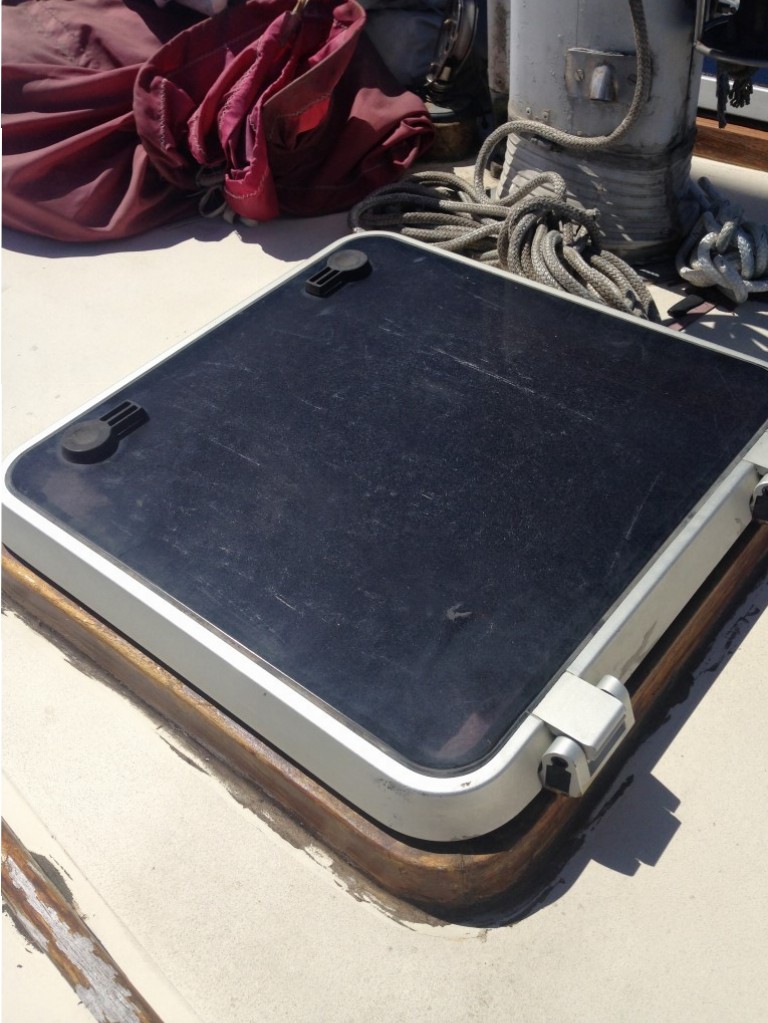
One of the current projects on Grateful Aire, is a replacement of our hatches. The old hatches while doing the job were experiencing many many years of hazing and crazing from salt water and sun.
While attending the Strictly Sail boat show at Jack London square in Oakland, we did some pricing of new hatches. After seeing the expense we were prepared to “bite the bullet” and get four new hatches for GA. One of the benefits of working in the marine industry here in the bay however (I’m currently commercial diving) changed our minds.
I ran into a boat owner in San Francisco that recommended that I go to “Tap Plastic” and see about just replacing the acrylic. Our aluminum frames are still holding up well. We just needed to replace the acrylic pane. After talking with them, I jumped into the task to see how it would go.
This post is going to be rather lengthy, as I want to document the whole process and add quite a few pictures.
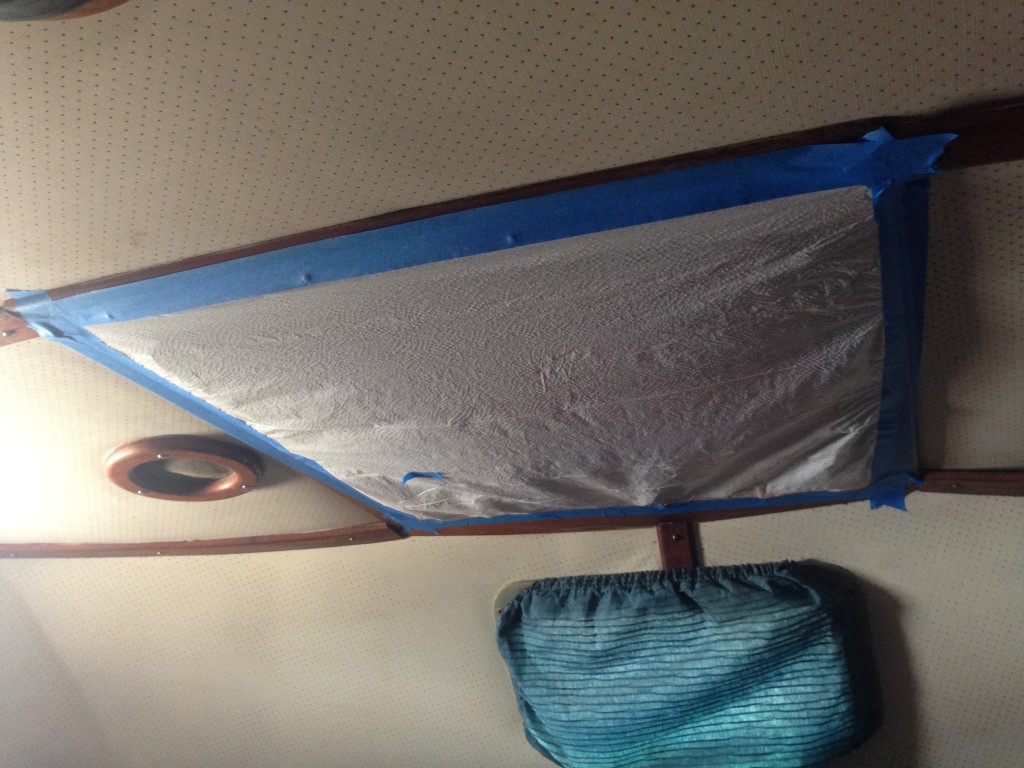
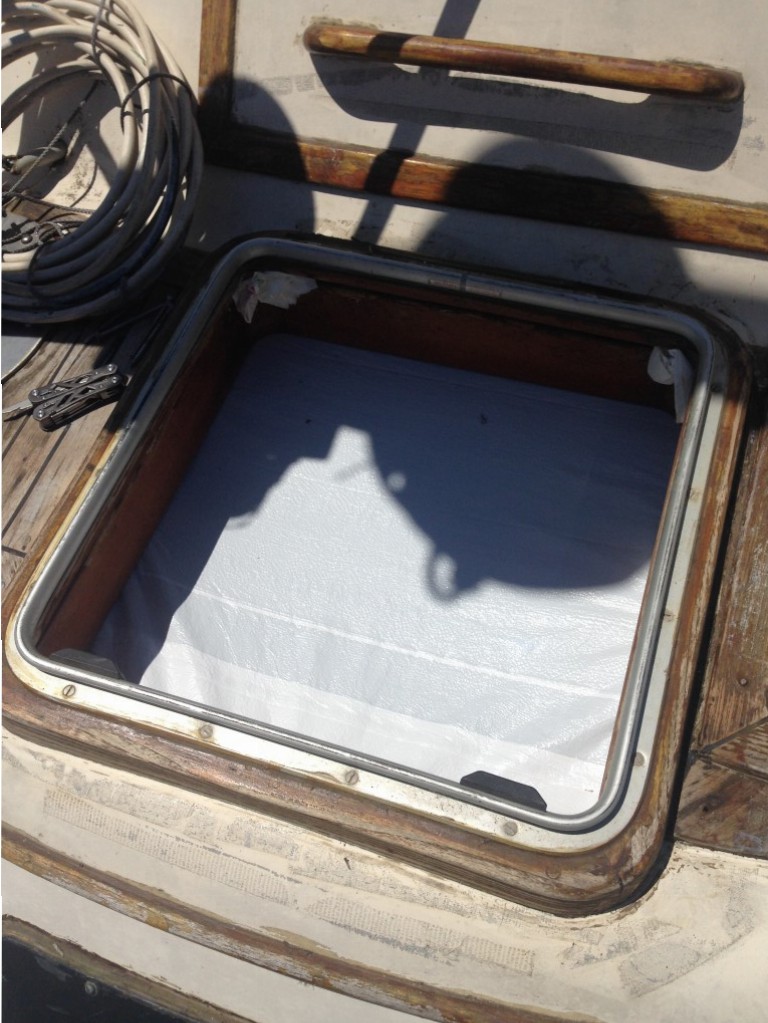
First, I taped off the inside of the hatch so that no material would fall on the aft bunk.
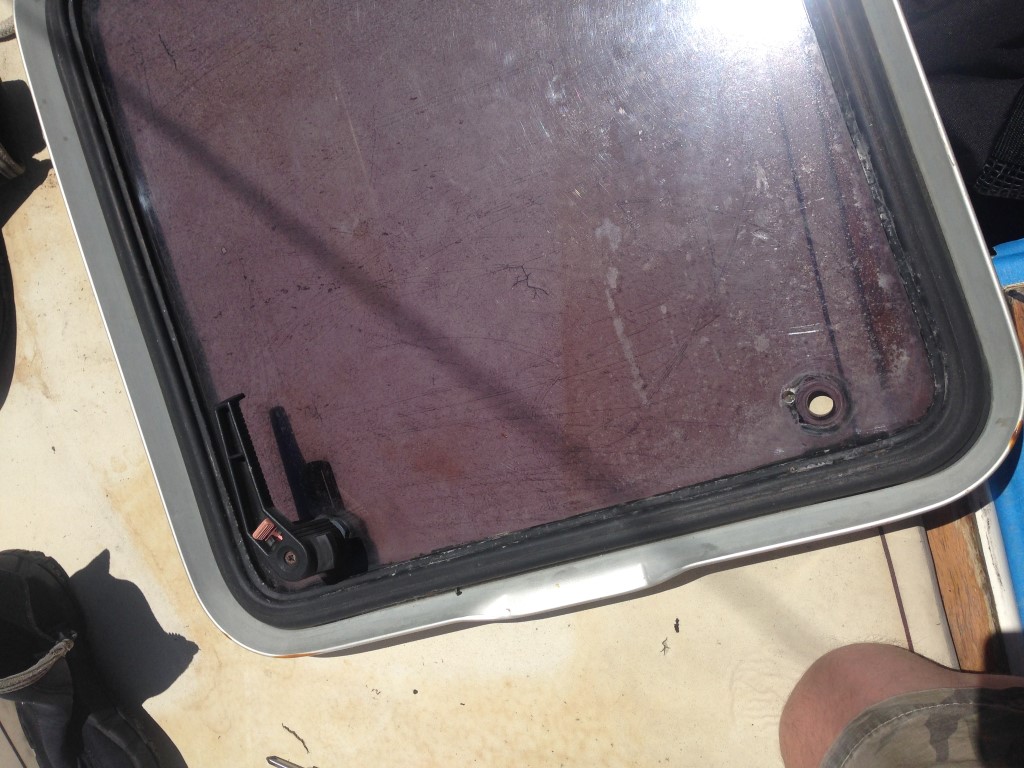
Next I removed the old hatch top. Note the crazing in the acrylic. This is a fairly straight forward process. It required removing just four long screws going through the lower frame.
I then removed the handles from the old acrylic and attacked the bedding compound holding the acrylic to the top frame. As these are Lewmar hatches, I’m assuming that it was Sikaflex. I will use the same product to install the new acrylic.


Part of this included removing (very carefully) the old gasket to re-use on the new hatch reassembly. This might not have been possible if the gasket had been too worn. This gasket material is sold locally by the foot, so we had options. Thankfully ours was still in good shape.
Then the hard part starts. I had to remove all of the old compound from the top frame. I cut as much out as I could using the exacto knife, and removed the rest using a wire wheel attachment on my Dremel.


After the top fame was prepped, I cleaned off the old acrylic somewhat, and took it to Tap Plastic to cut a replacement. They told me about a day turn around and actually had it ready for me in a few hours.
While they were working on cutting my new piece, I dug into the lower frame. A million screws later I was ready to cut the old adhesive away from the wood and aluminum. This is a lot harder than it might seem.
I removed any old sealant from the under side of the lower frame.
I got a throw away serrated kitchen knife from the dollar store assuming that I would break at least one. After cutting about 8 inches free, I found that I was able to jam a screwdriver between the wood and aluminum to relieve the pressure on the knife, and ensure that I was only cutting sealant. This made the cut much quicker.
After removing the lower hatch frame,
I needed to remove all the old sealant from the wood. Then sand the surface before adding new 3M 4000 UV resistant sealant.

In progress
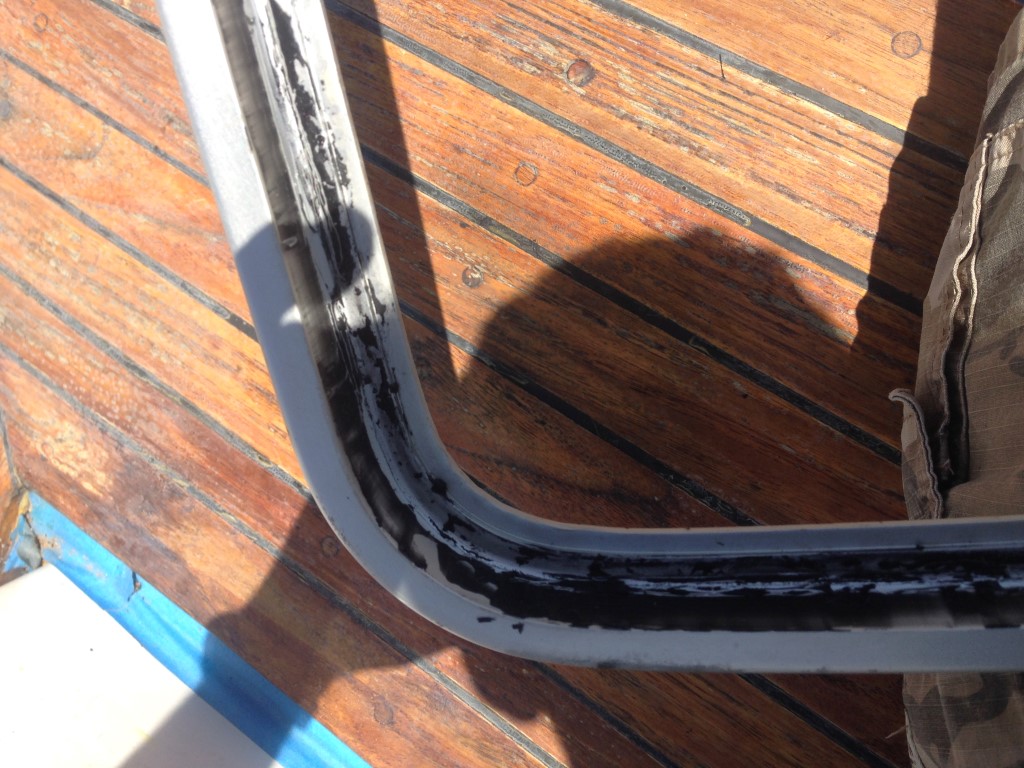
I next set a new bead of 3M 4000 on the wood.

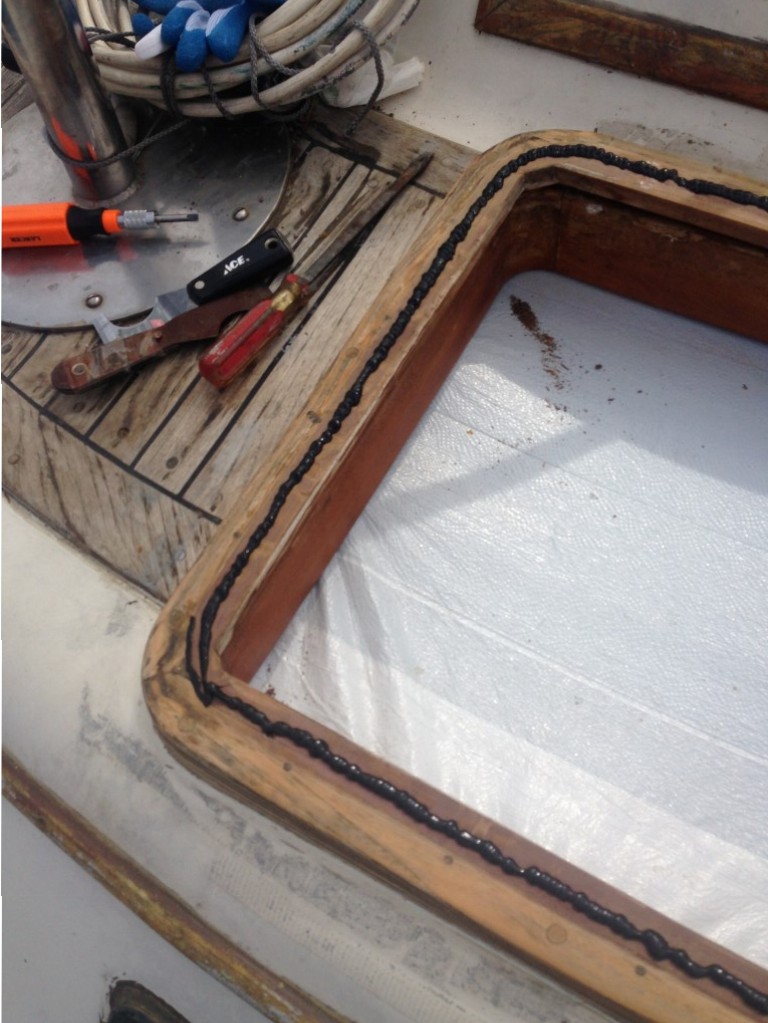
Time to screw the hatch lower frame back down.
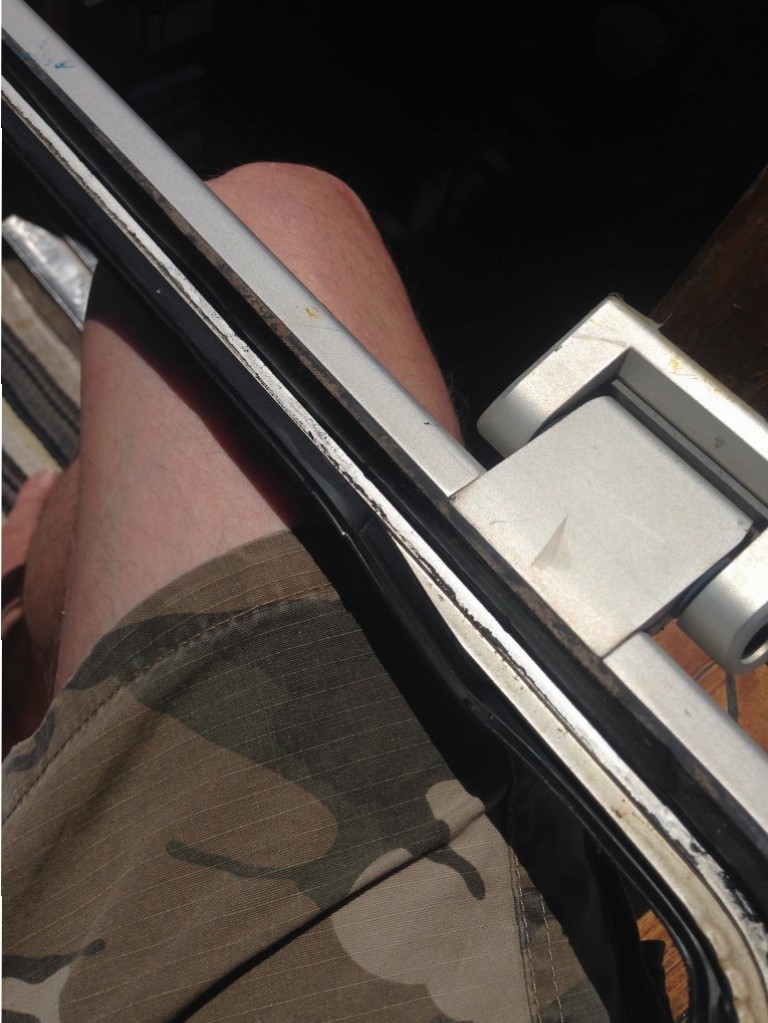
Once the new acrylic was ready, I re-installed the inner gasket on the top frame. They key to using the Sikaflex product to bond acrylic to aluminum, is to use the Sikaflex “activator”. Basically a primer that etches the aluminum and gives the flexible sealant something to grip.
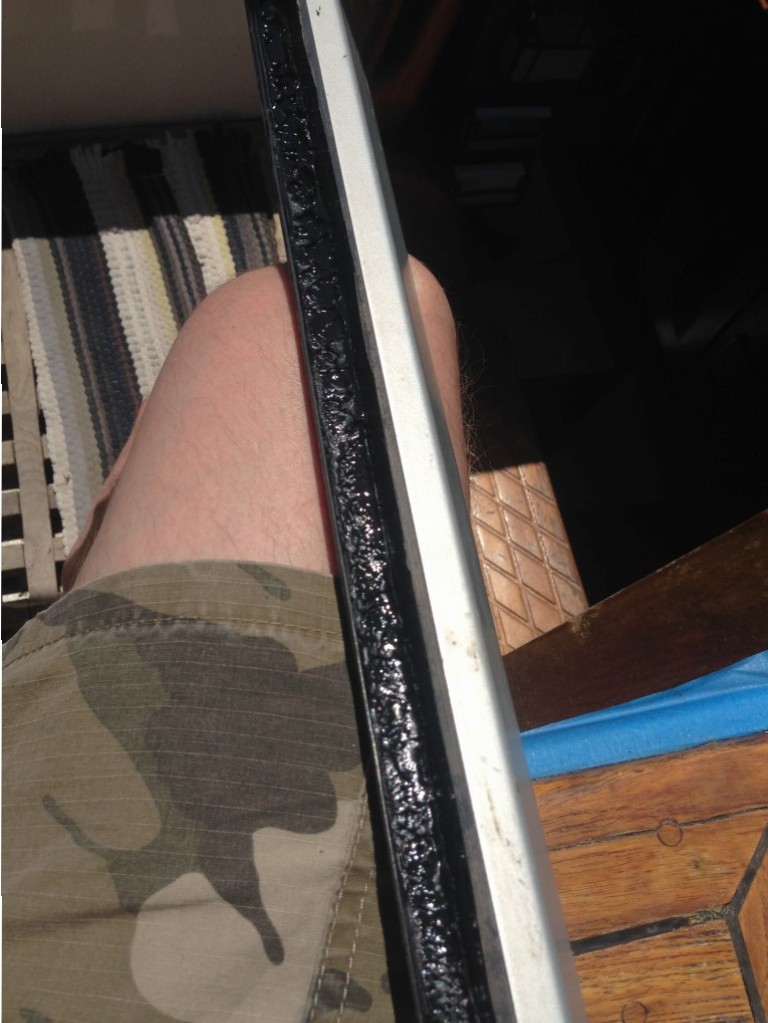
I then reinstalled the old rubber gasket, applied a bead of new Sikaflex into the frame, and placed the new acrylic in the frame. After putting as much pressure as I could on the pane, I filled the entire gap between the acrylic and aluminum with Sikaflex.
Believe it or not, you do not have to be that careful when smoothing out the bead, as after curing a bit,
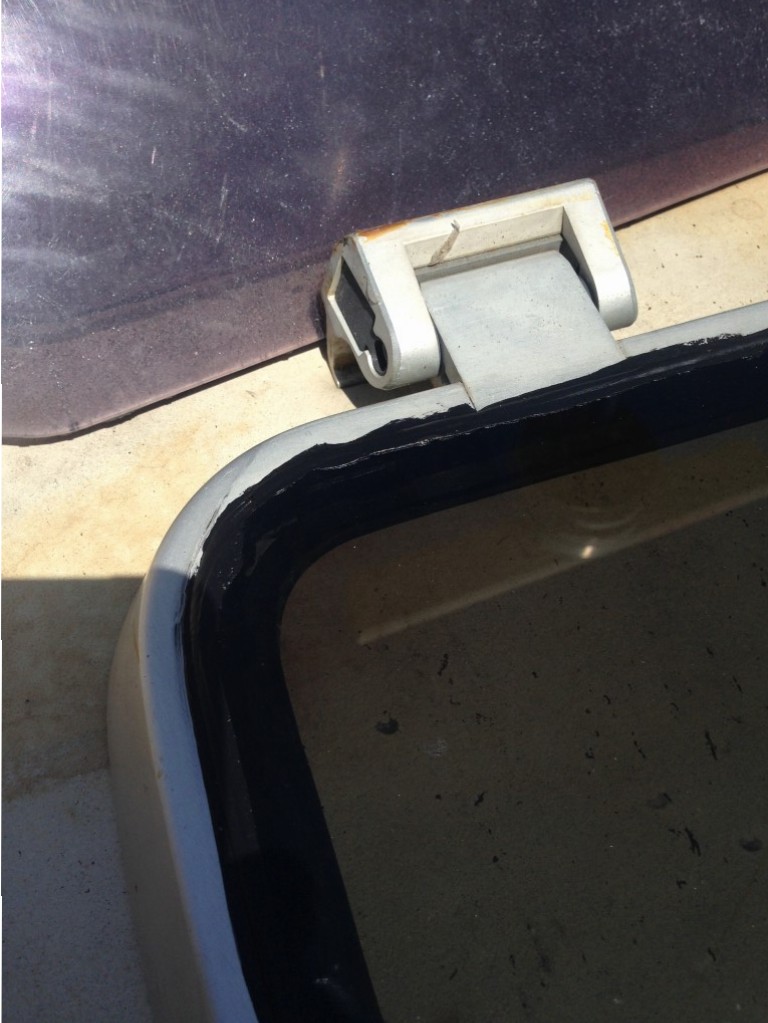
the product peels off of the acrylic and the untreated part of the aluminum pretty easily, leaving you a nice professional look.

This now needs to cure for about a week before it completely sets.
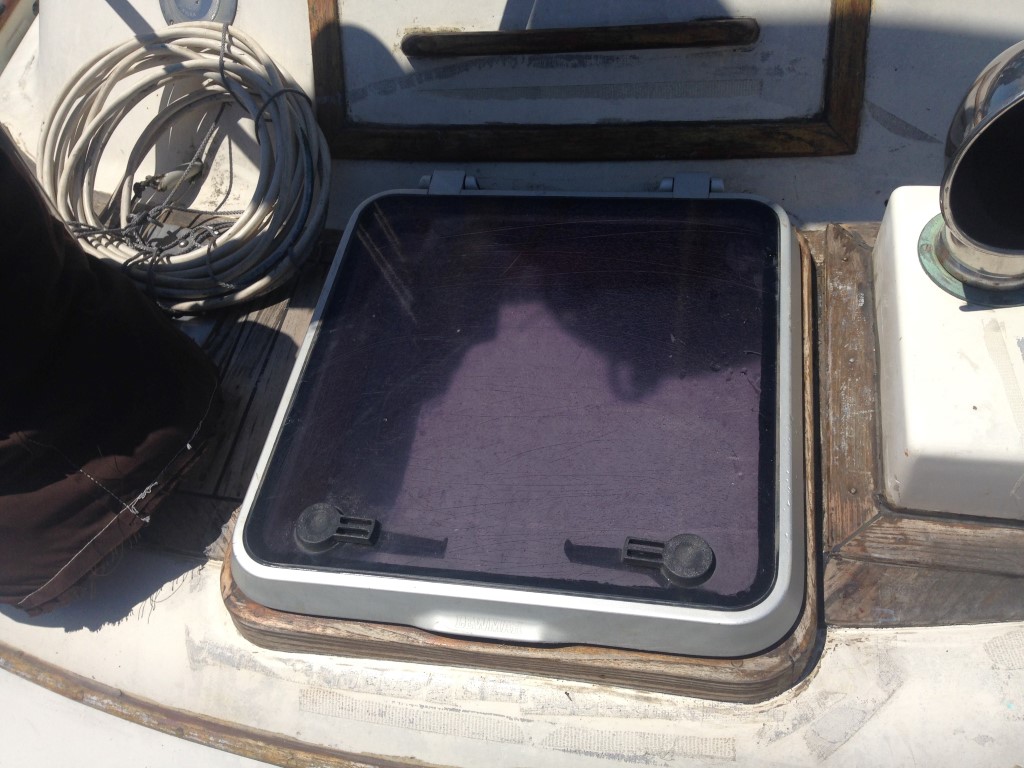
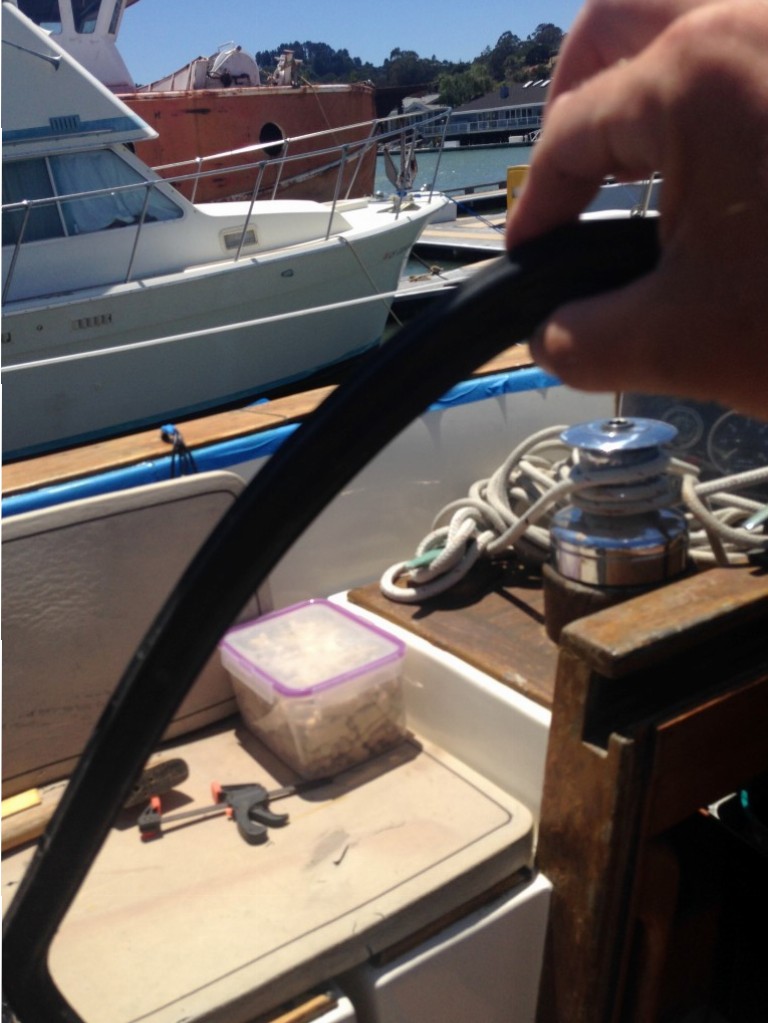
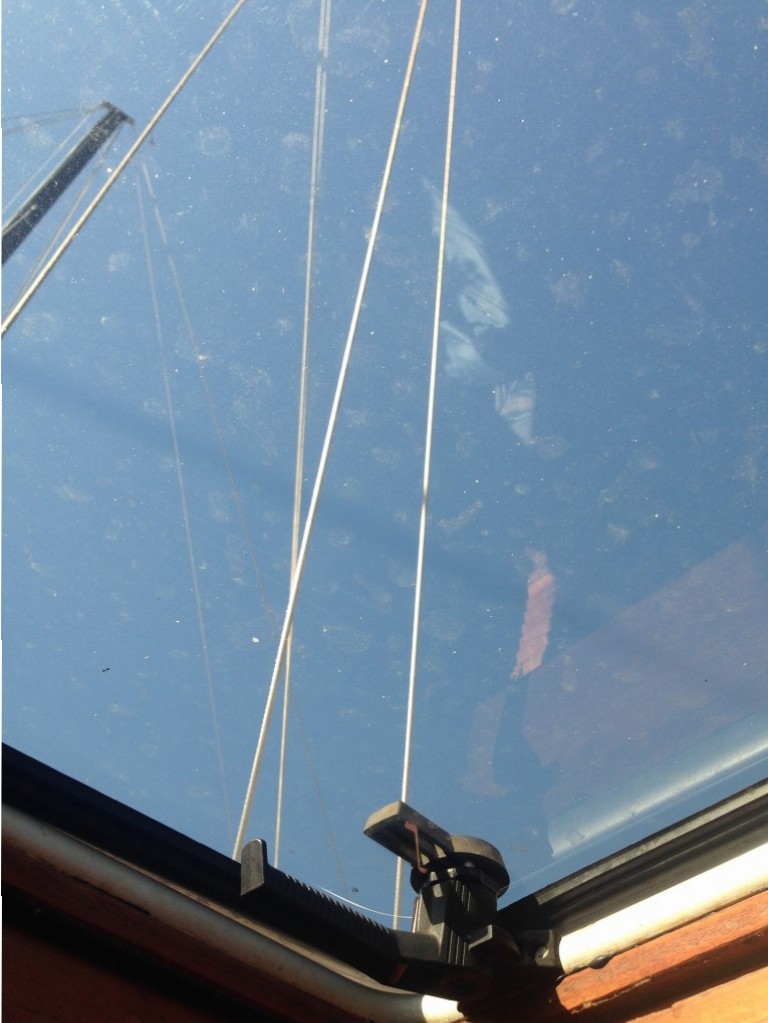
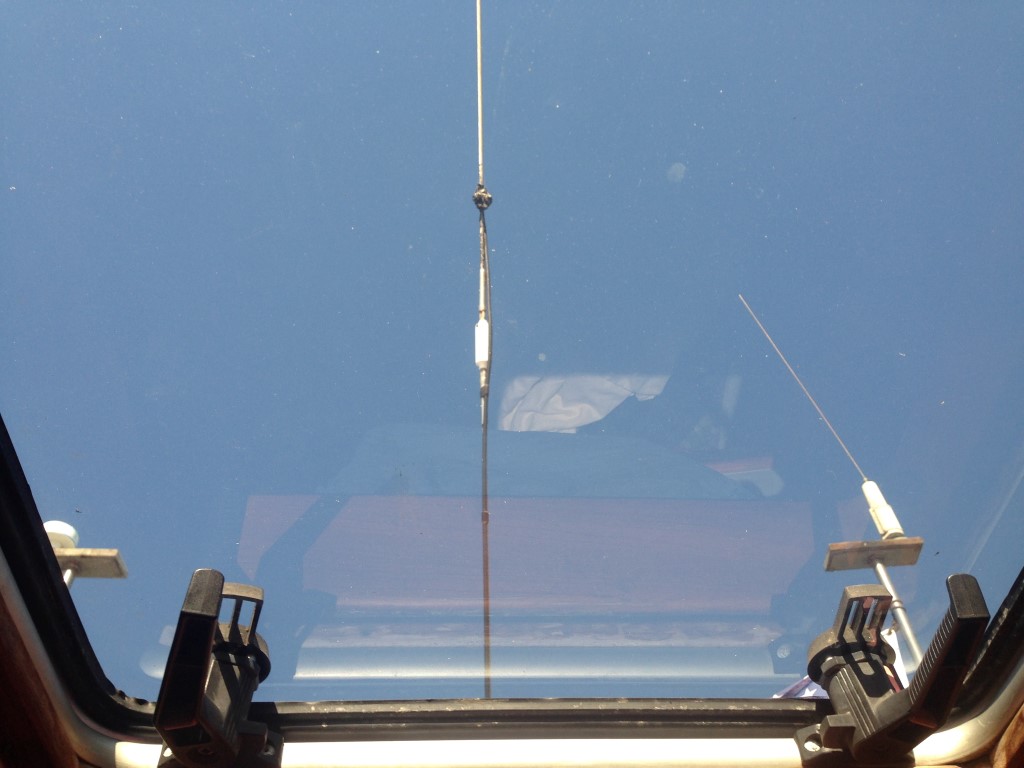
A look through an old crazed hatch,
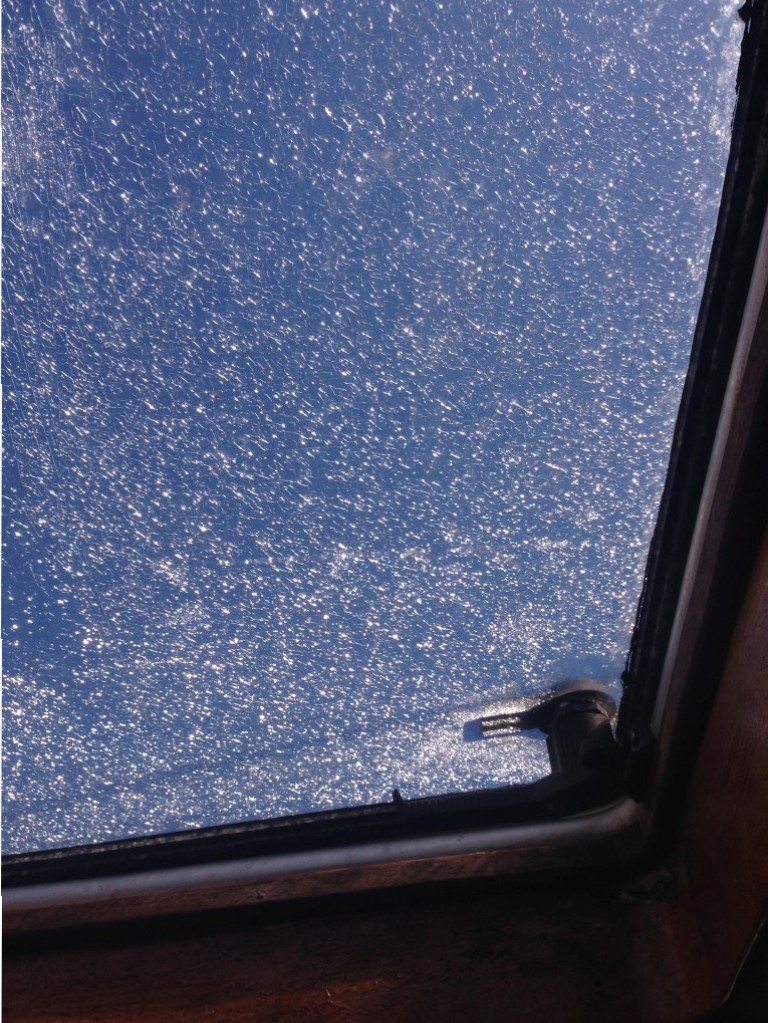
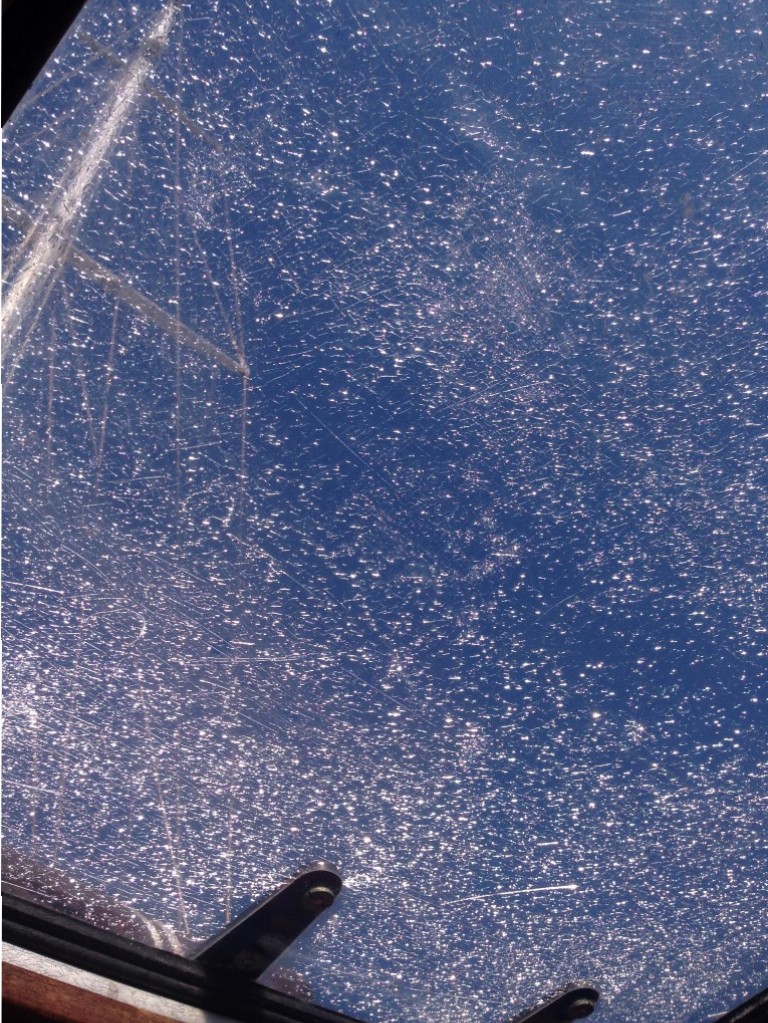
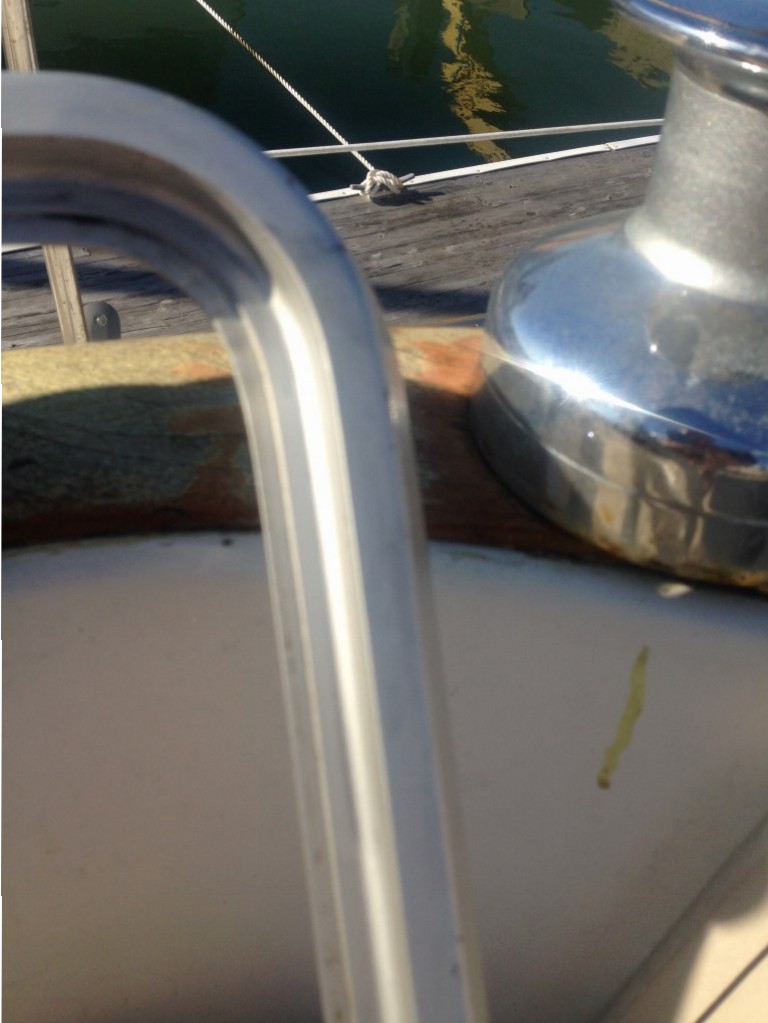
becomes a look through a “new” hatch.
Now I just have to do the rest of the hatches.
Thought you might like to see some of what goes on with us
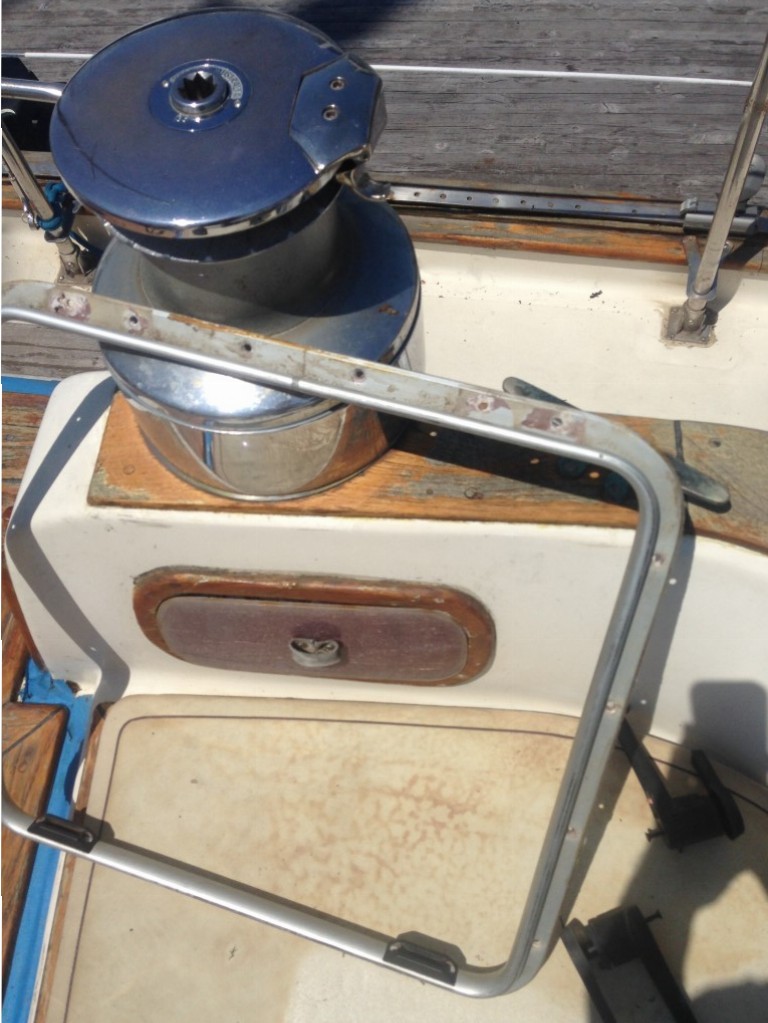
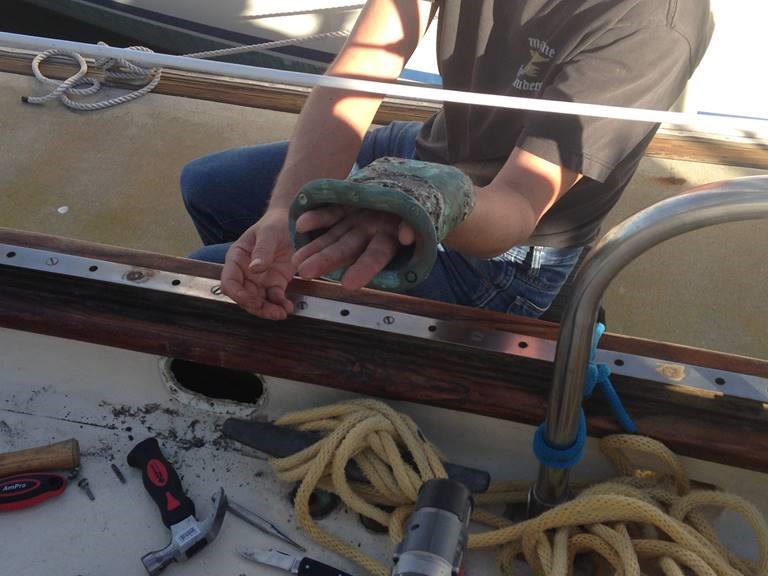
So….here is what the skipper is working on today.
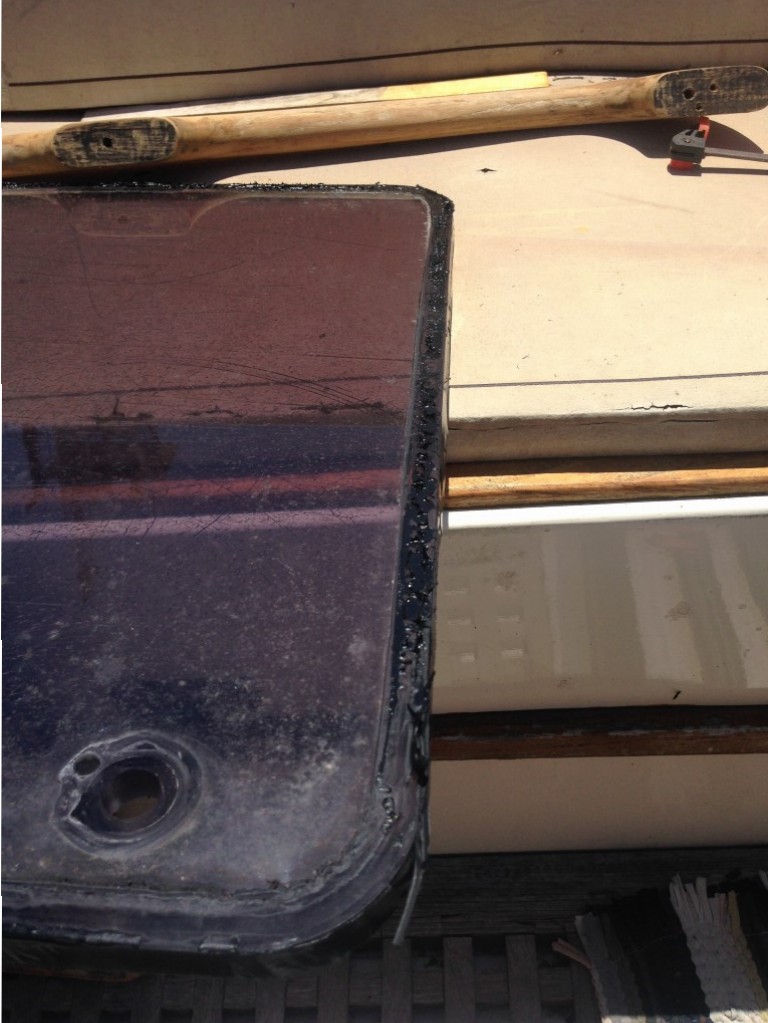
The brass fitting around this hole was very loose and Kyle was afraid we would lose it, so he wanted to pull the screws, use wood filler and put it back together. Come to find out, most of the other screws had been snapped off rather than being missing as we had thought, and when he took the fitting OUT to work on it….we found out it goes down into the hull of the boat! So, if it was leaking around the edge at all, it could leak IN to the boat. We’ve had a fairly major leak inside (right over the microwave actually) that the previous owner tried to find for 8 years! We are hoping this will either fix or greatly help some of the leak issues on this side of the boat.

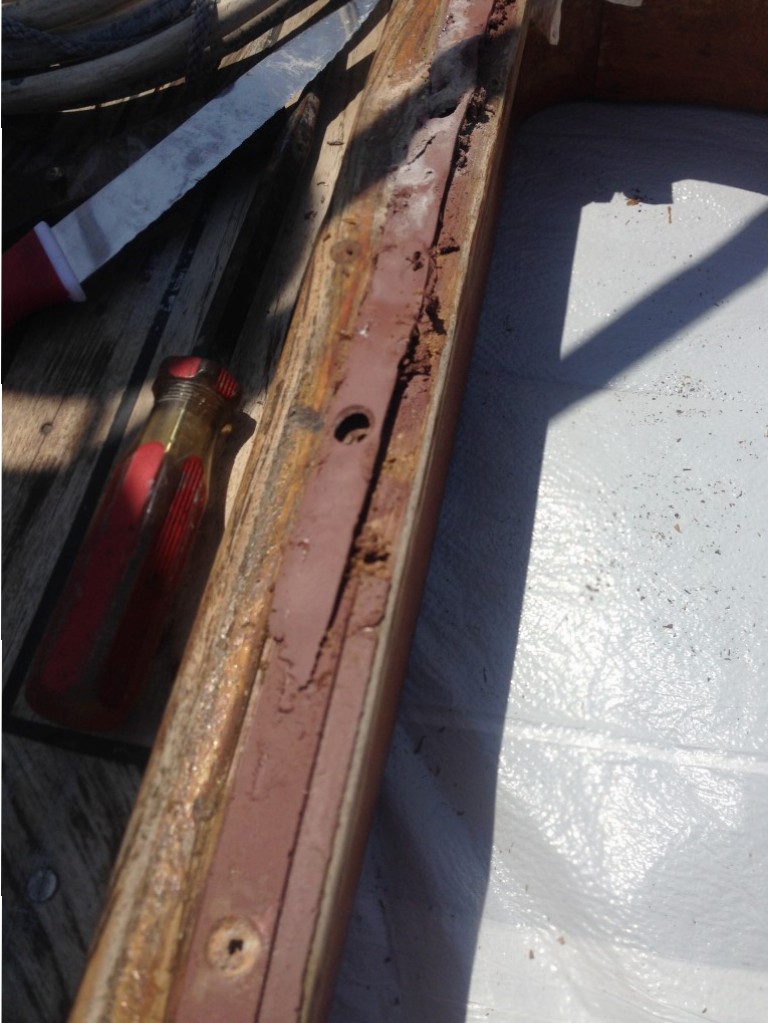
So this is what goes through the side of the boat. You can see they had tried to wood
putty and or silicone to keep it leaking before….it will get all new goop now…and done properly
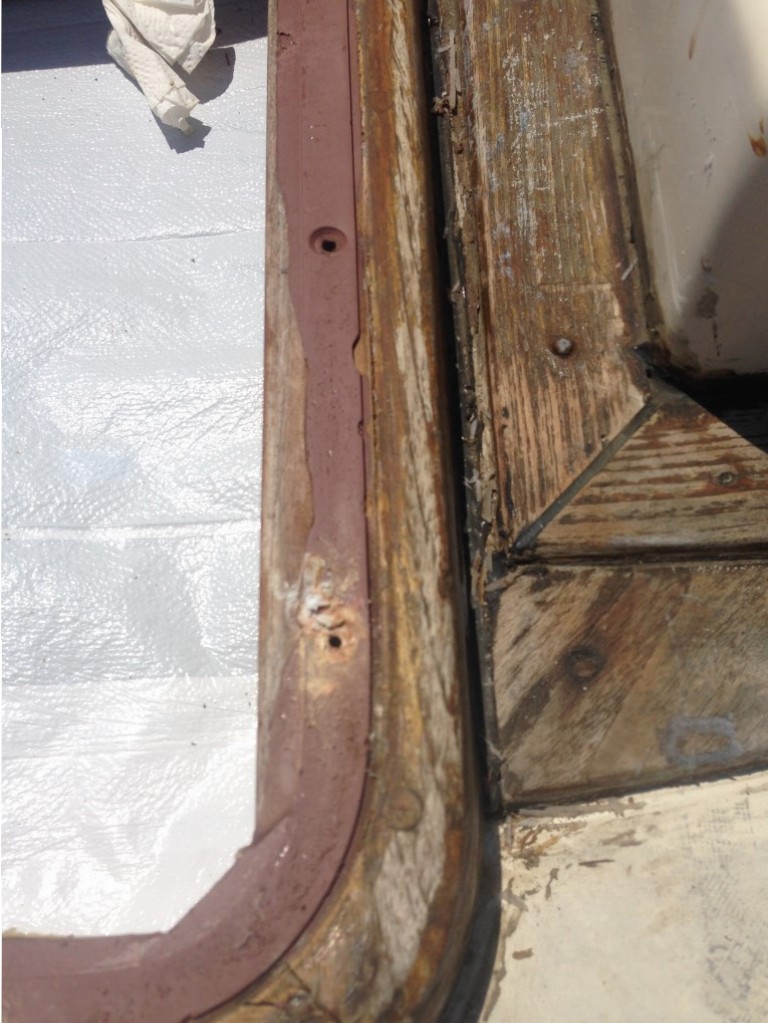
Much as we both love Jack (former owner) he was not much of a handy man
You can see where that fitting goes just there….The part of the fitting towards the
camera is actually what would be seen on the outside of the boat
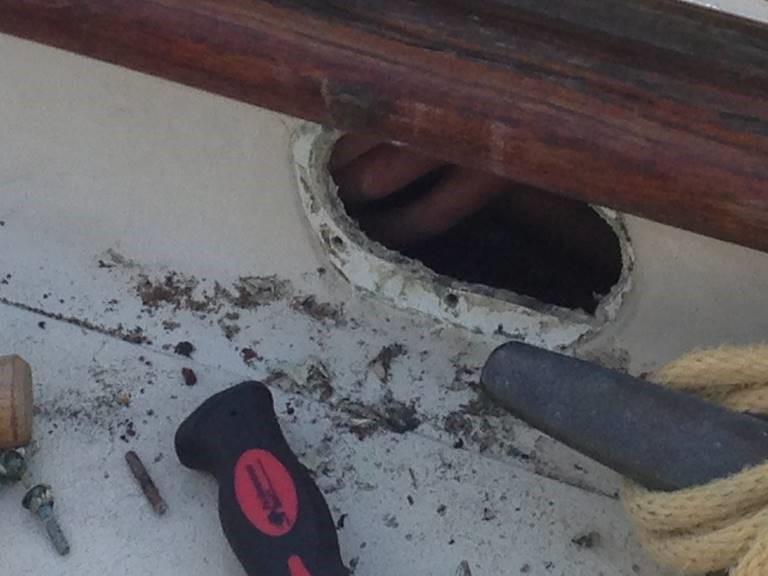
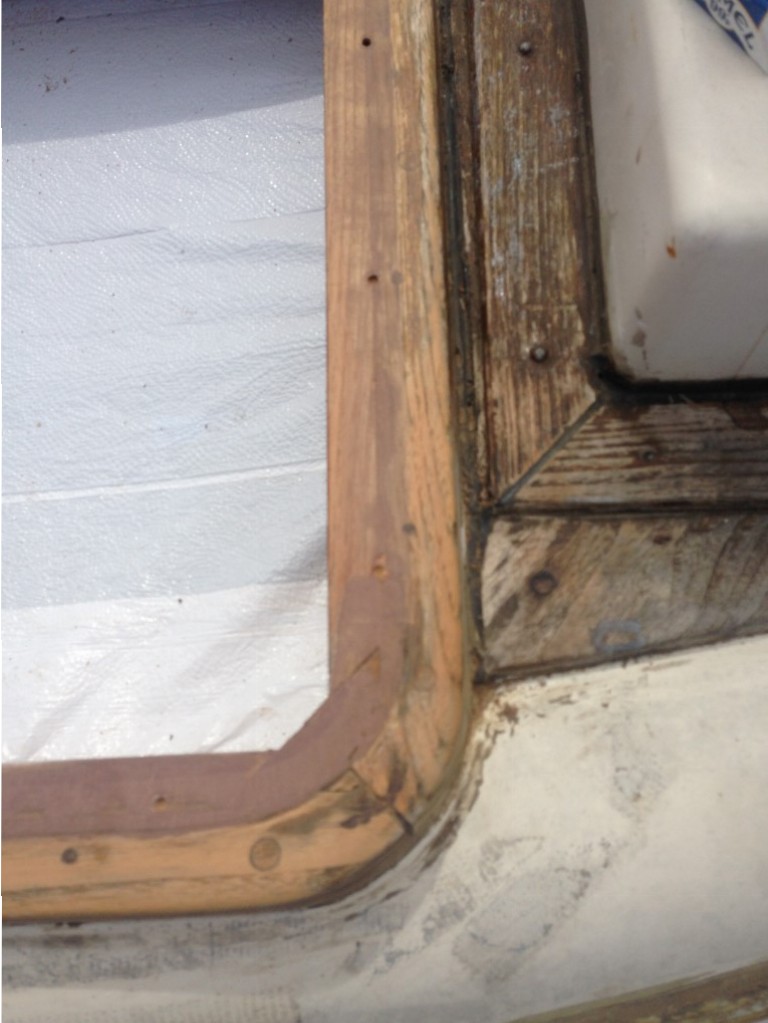
A good shot to see IN to the boat….Kyle is actually touching wires and a pipe there!
UPDATE: Didn’t solve the problem and next step is building up an epoxy backing to screw through!